
This is a listing of the various multi-tools I have found in my chosen home galaxy, #026 Sivarates.
This listing was starting to get too long for easy viewing, so I have broken it into smaller lists.

1-9
 |
 |
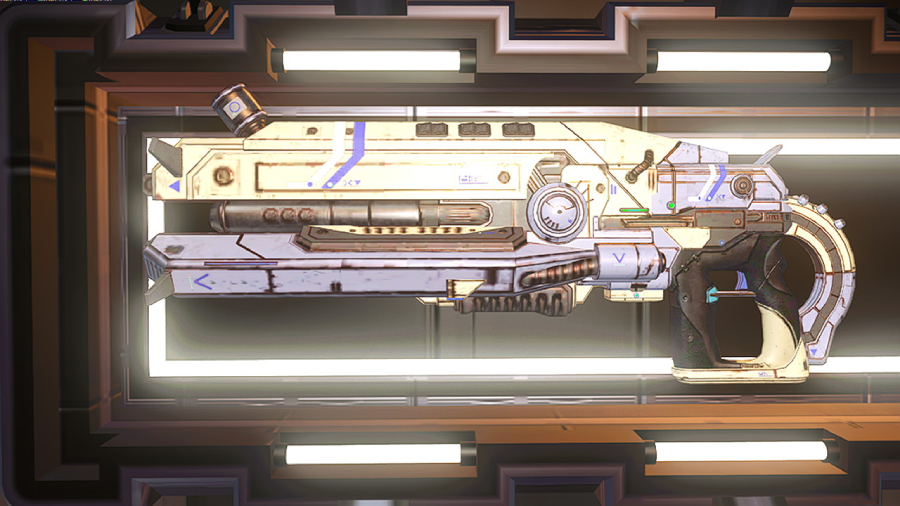
The Togawa Sphere (Rear Cabinet) |
||


| ||||
 |
|
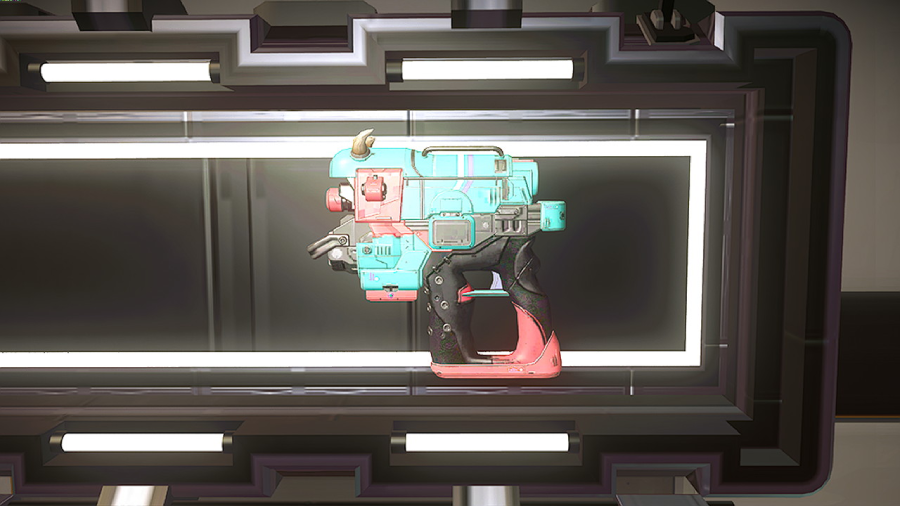
The Obamia Sphere (Front Cabinet) |
||

| ||||
 |
|
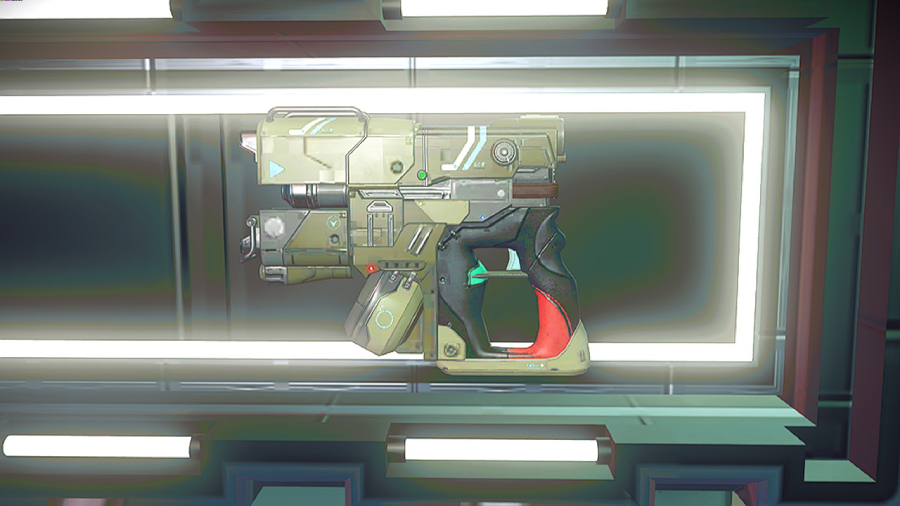
The Mariash-Luto Sphere (Only Cabinet) |
||

| ||||
 |
 |
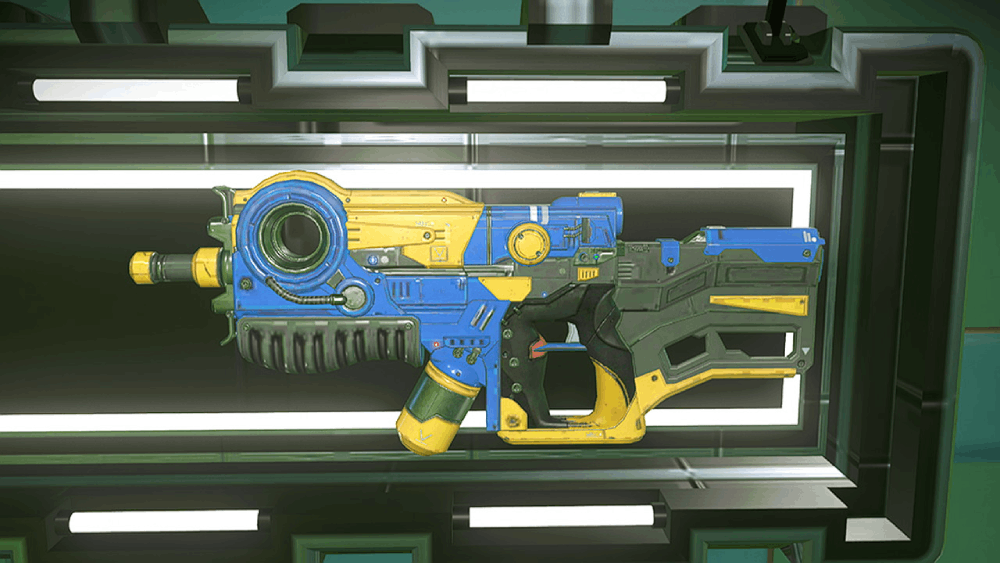
The Shunab-Amik Sphere (Rear Cabinet) |
||
|
| ||||
 |
|
The Oriyam-Owa Sphere (Rear Cabinet) |
||
|
| ||||
 |
|
The Rittorib Sphere (Front Cabinet) |
||
|
| ||||
 |
|
The Honmatsuy Sphere (Rear Cabinet) |
||

| ||||
 |
|
The Karatsun Sphere (Front Cabinet) |
||
|
| ||||
 |
|
The Ureshi Sphere (Both Cabinets) |
||
|
| ||||
 |
|
The Revine-Sad Sphere (Both Cabinets) |
||

| ||||
1-9

